Handy?
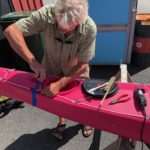
You don’t need to be a carpenter or boat repair person to install the sail but some basic handcraft skills will help for sure. The kit supplied is sufficient for most scenarios but some kayaks will need more work than others. Make sure your kayak is stiff/strong enough where you intend to put the mast foot and fittings. Make reinforcements if necessary. Some cheaper brand kayaks are known to have a wuite weak deck and if so need some extra support. PE kayak might need a ”support-leg” to stop the deck from flexing underneath the mast. Any plastic pipe cut to the right length will work great.
Mastfoot
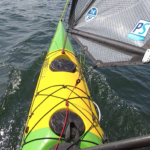
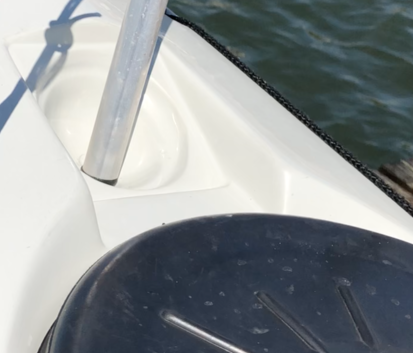
If your kayak has a compass recess that has no compass mounted you are in luck because you do not need any mast foot. The mast is simply put into the recess and held in place by the shrouds and uphaul.
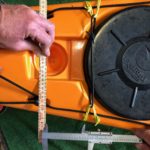
For kayaks that does not have a unused compass recess we have come up with a super simple solution. After countless more or less complicated mast foot versions we have ended up on a simple, reliable, light and cheap mast foot that we supply with all our kits. This allows for most of the benefits of the compass recess. The mast is actually never attached to the deck and only held in place by the uphaul and shrouds. This method has proven to be super reliable. When the sail is taken down it can be stored as far forward as necessary not to hinder paddling. This also makes it possible to store the sail on the back deck when not sailing.
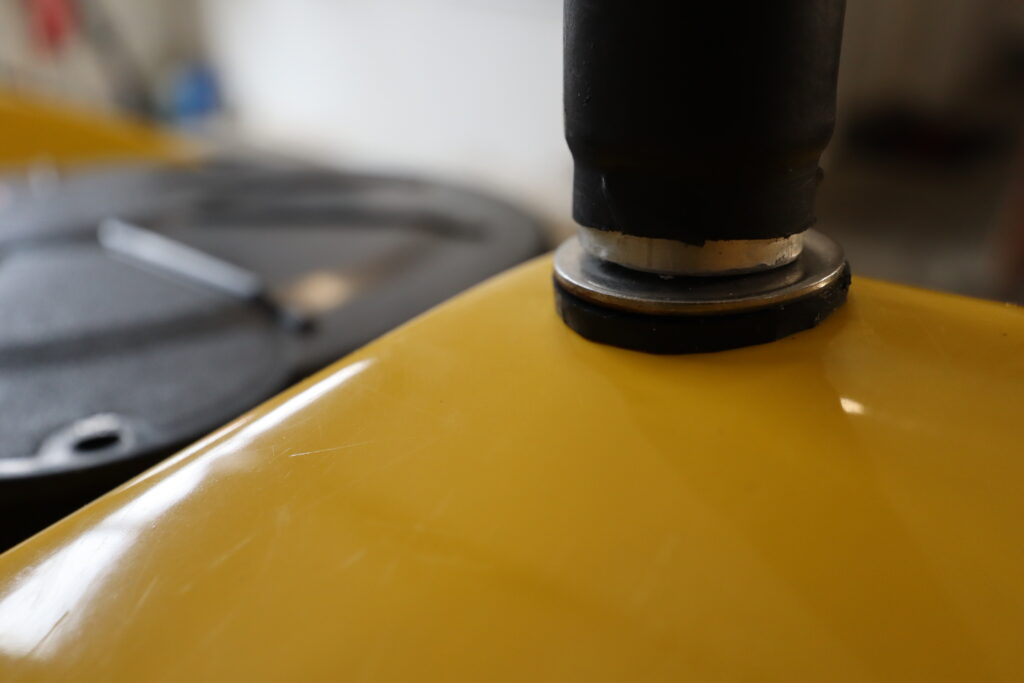
The mast is held in place securely. The mast comes with an end plug that need to be taken off if you are not placing your mast in a compass recess.
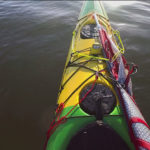
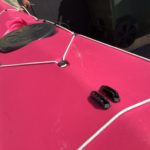
Shroud fittings.
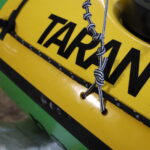
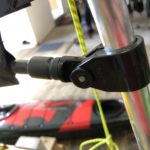
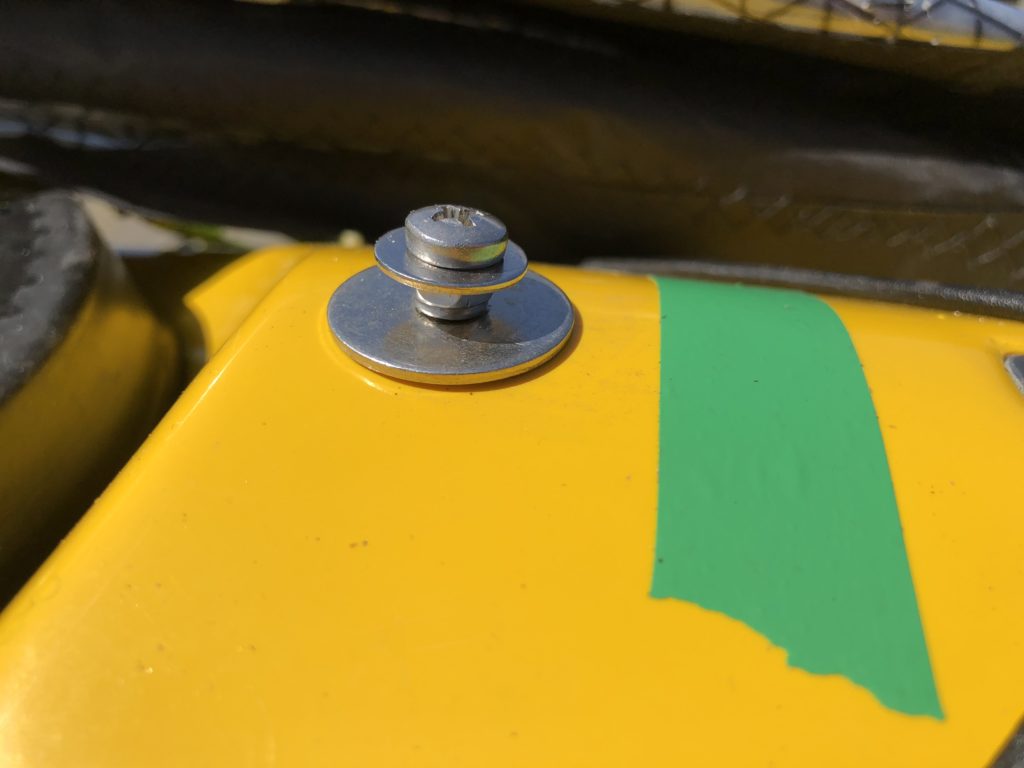
Mount the shroud fittings 40-45 degrees behind the bottom point of the mast. Use the larger washers on the inside as these fittings needs to take quite a lot of force.
By far the best shroud fittings are the glassed in versions(works only on glass fibre kayaks). This is a bit more work than with the supplied fittings but looks nicer and for sure stronger.
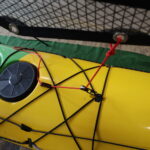
We supply enough dyneema for you to make the correct length for your kayak/setup. Tie or even better splice the end loops for the larksheads. There are plenty of tutorials on youtube for splicing – fun and good looking/strong.
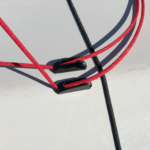
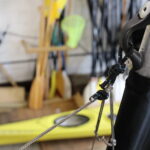
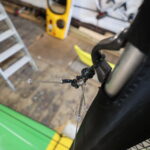
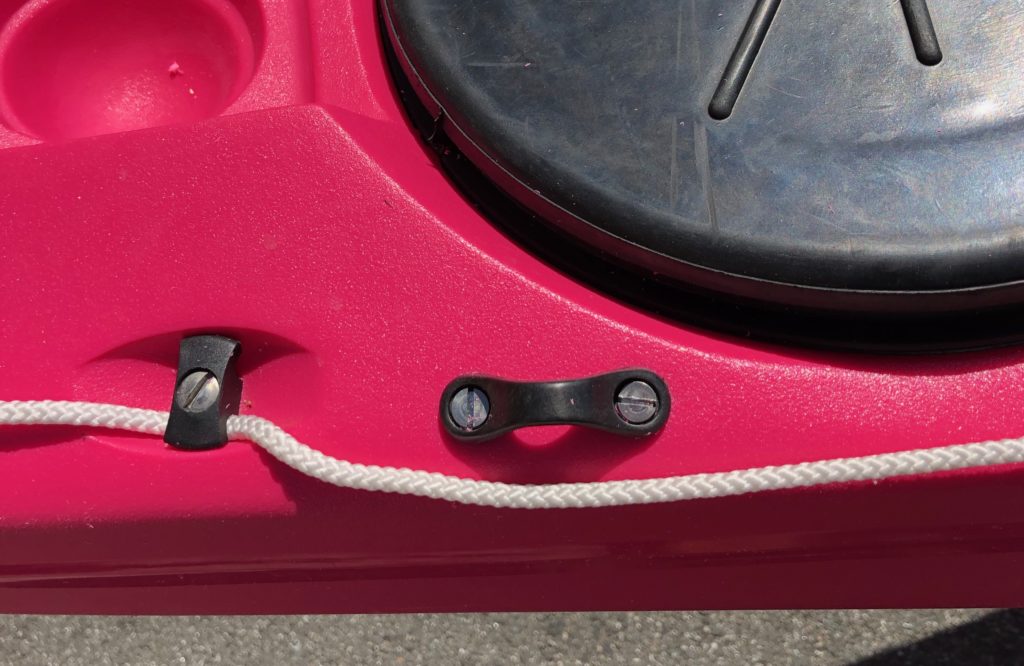
Mounting of camcleats for uphaul and sheet.
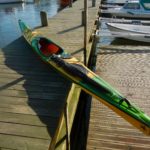
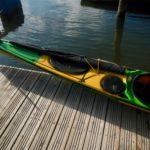
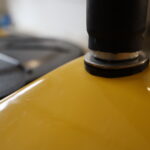
Look at the pictures below for inspiration.